How To Make: Flower Hat
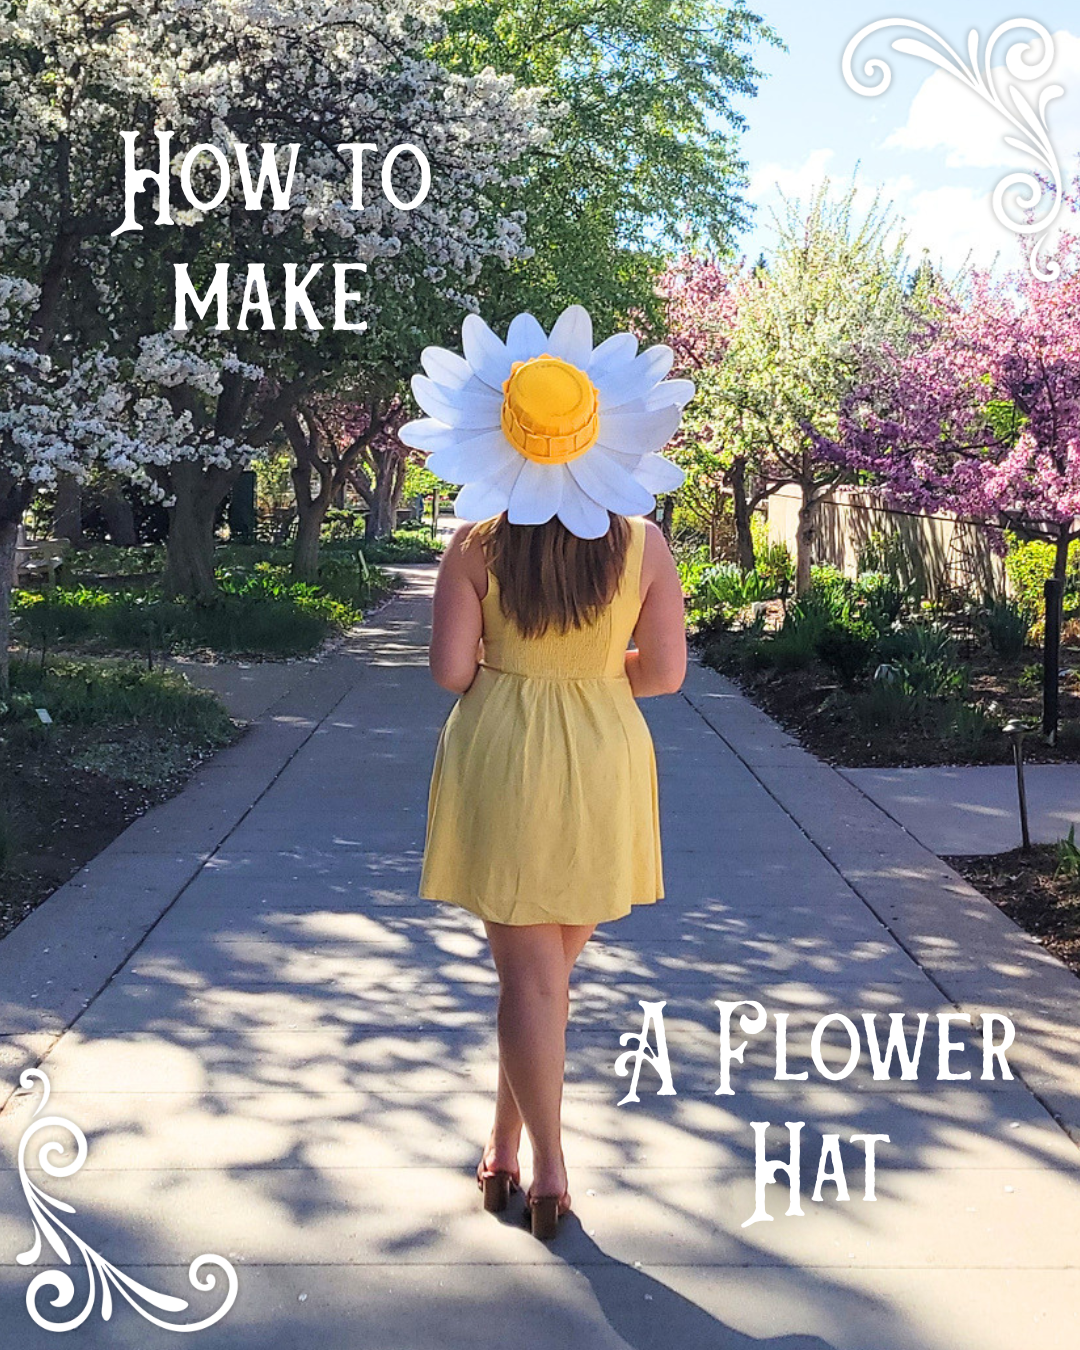
This year, one of my friends decided to host a rhyming party for her birthday - aka, come dressed as something that rhymes. After lots of internal debate - I considered Cherry Fairy, Racoon in the Moon, and Stitch Witch - I decided to create a costume to be a Lazy Daisy! Since I already have the perfect pajamas to create the “lazy” part from my Sleepy Time Tea Bear costumer last Halloween, all I needed to make was a daisy hat.
I had been hanging on to a sun hat that I bought from a clearance rack for months that wasn’t quite my taste, so I was thrilled that it finally had the perfect purpose. This project only took a couple of hours, and now I have the most fun hat to wear to my friend’s party, but also to the botanic gardens, the Renaissance Festival, or just out and about in the summer!
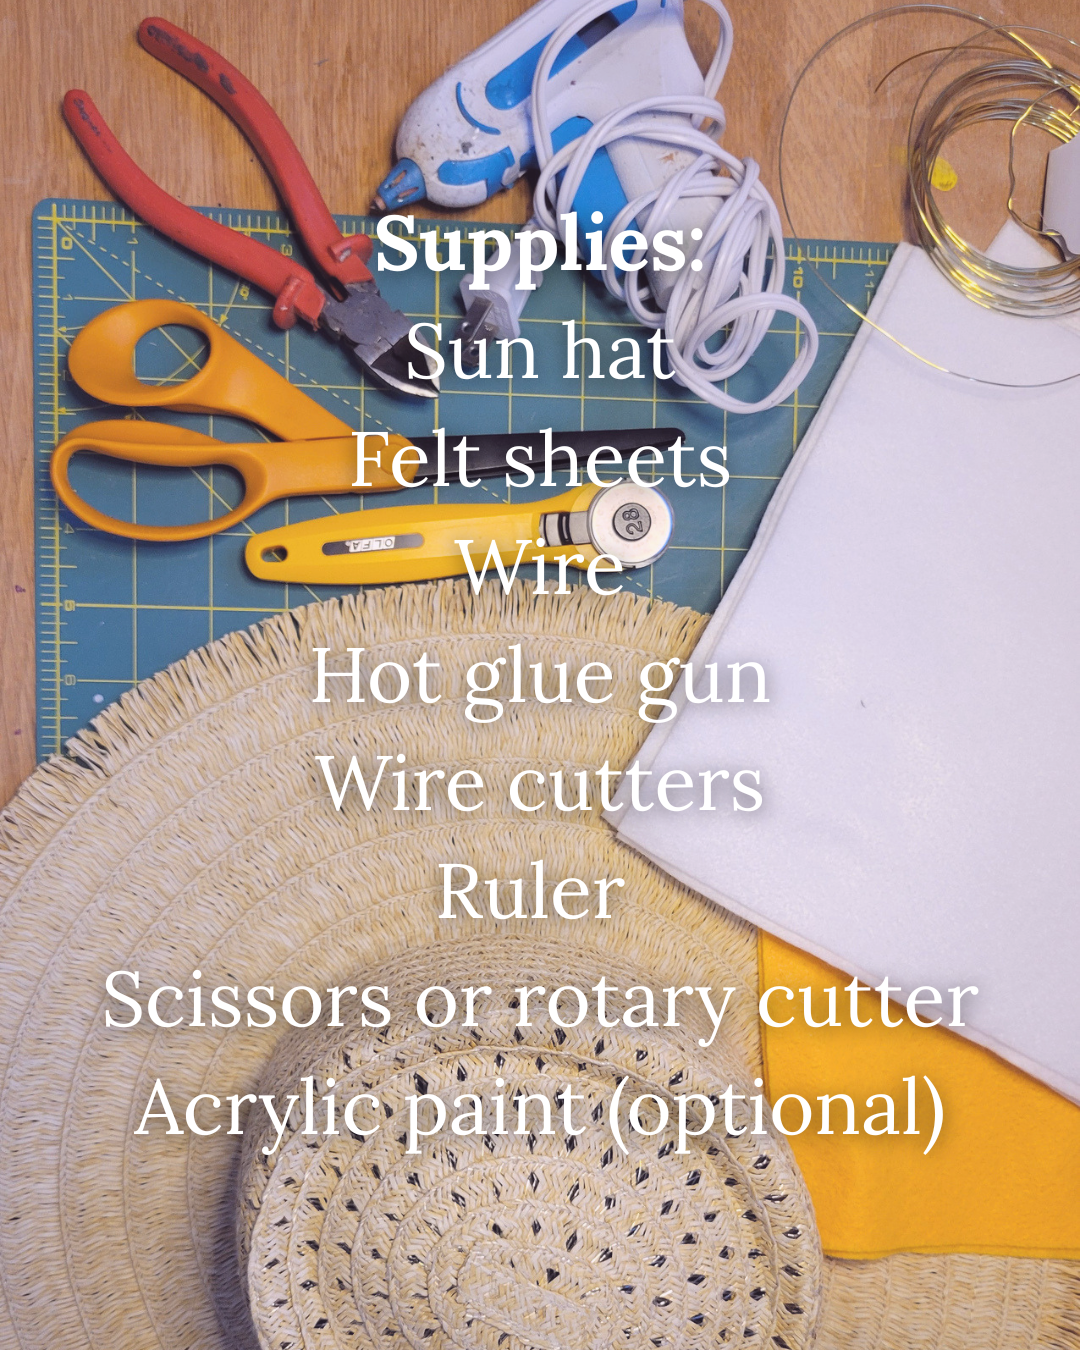
Materials:
Sun hat - You can often find these at thrift stores!
Felt sheets
Acrylic paint (optional)
Wire
Tools:
Hot glue gun
Wire cutters
Scissors or rotary cutter
Cutting mat (optional)
Ruler
Instructions:
Step 1: Cut out flower petals in felt
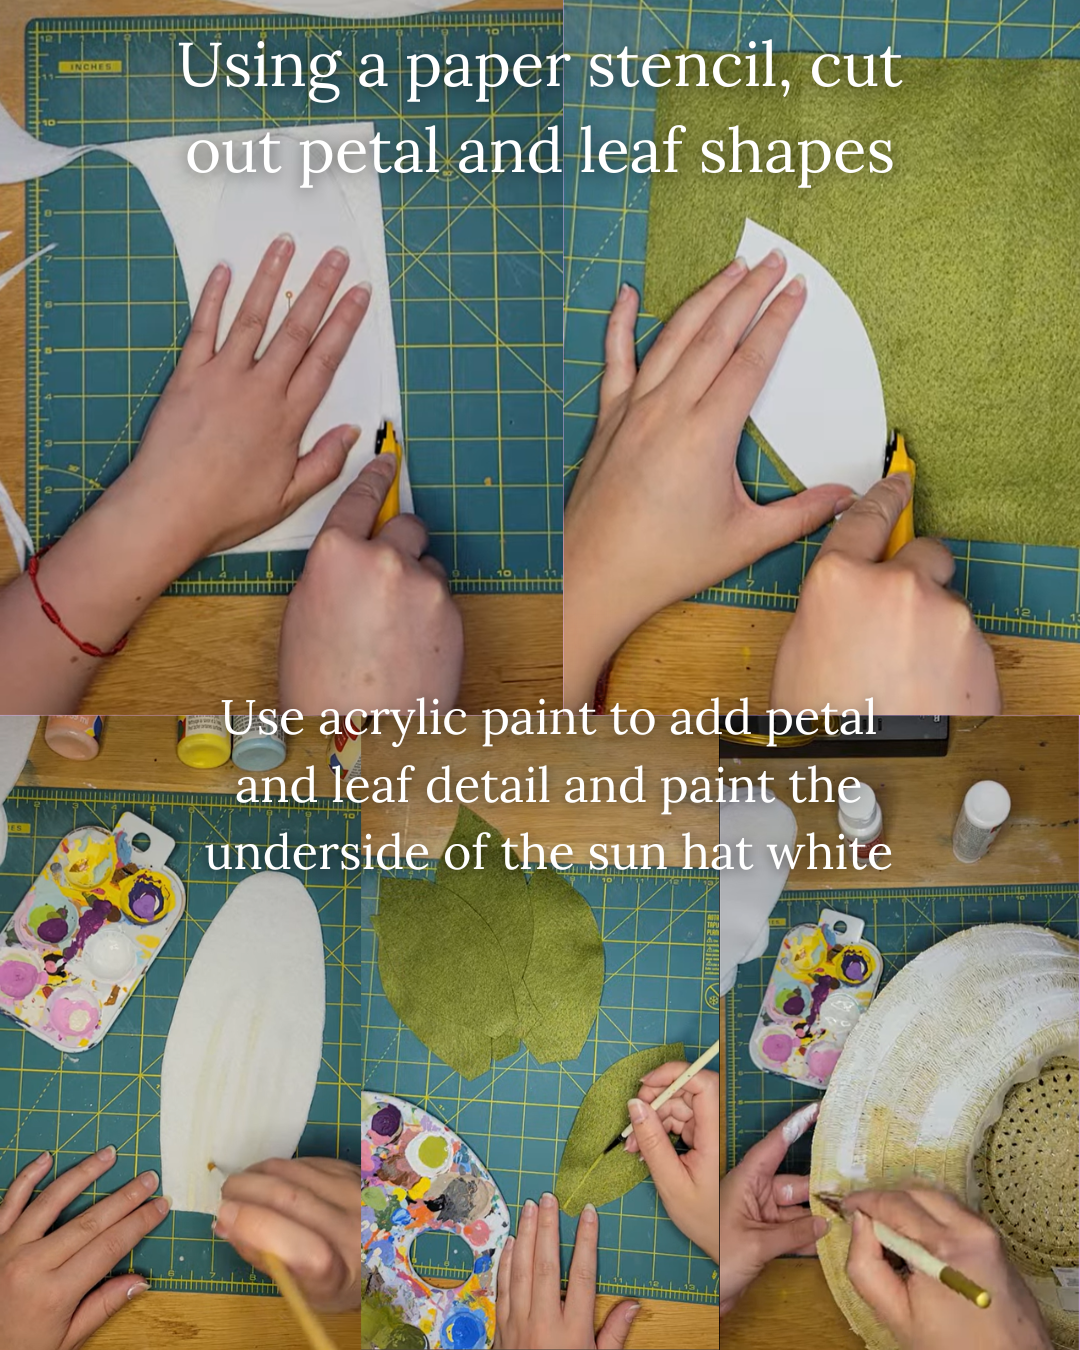
Draw or print out a paper stencil for your desired flower and leaf shapes (free printable template for lilac stencils!)
Pin the stencil to your felt and cut out with scissors or rotary cutter; Cut out 32 petals
Create pairs of petals. You should have 16 pairs - 8 for the bottom layer and 8 for the bottom layer
Optional: at this stage, paint on small lines on one end of one of each pair of petals to give it more dimension. I used my favorite off-white from Craftsmart, called Vanilla
Step 2: Assemble bottom layer petals (8 pairs of petals)
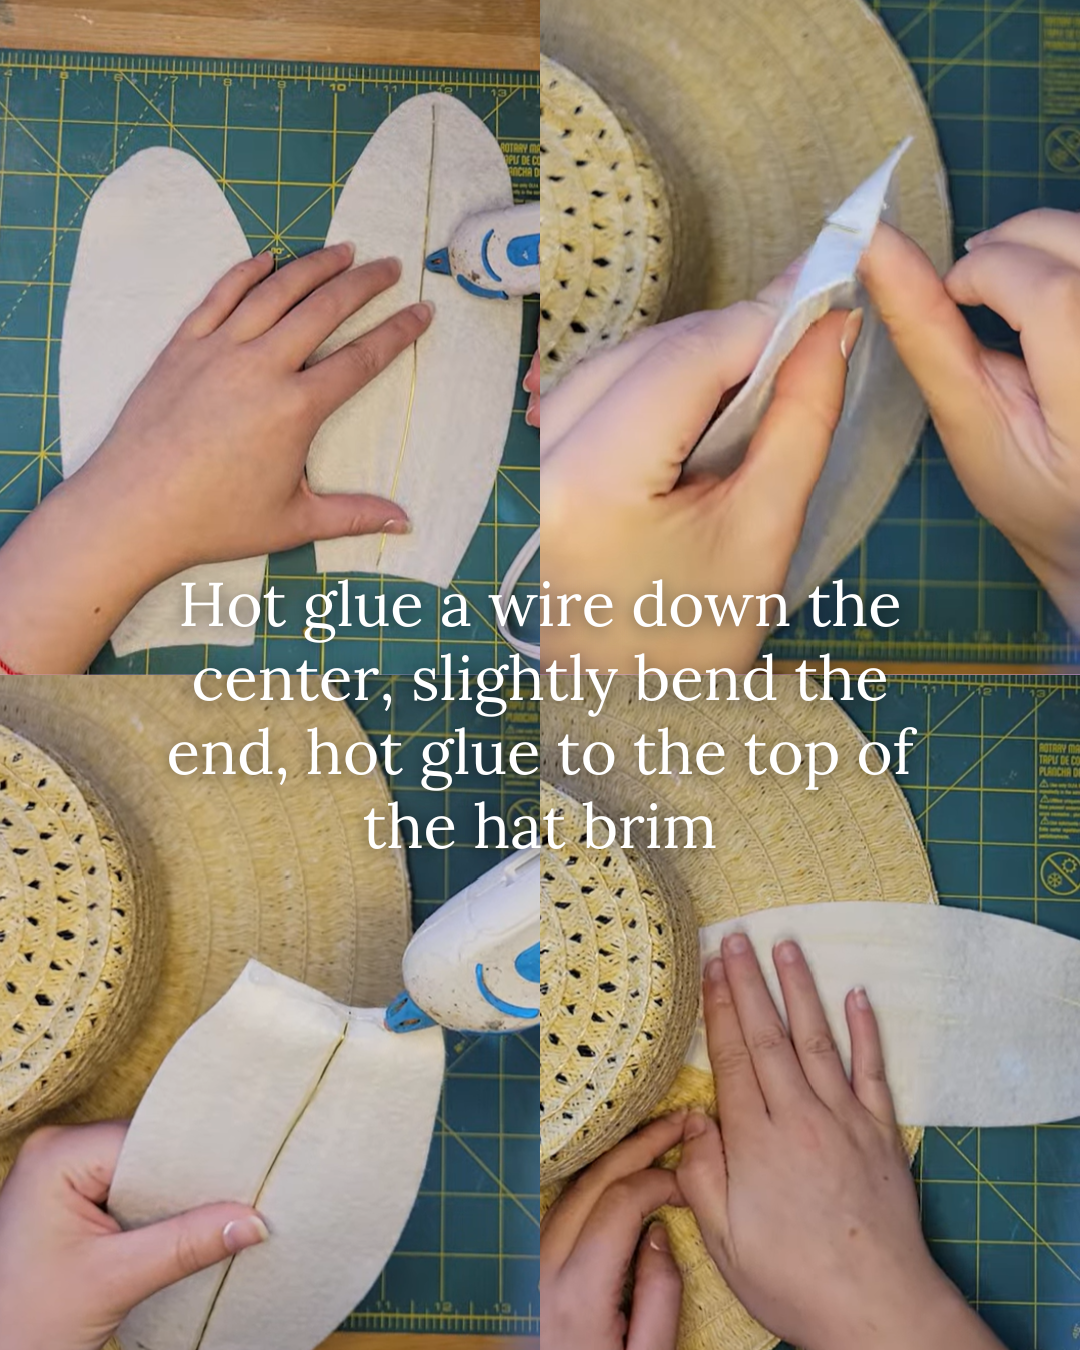
Cut a piece of wire to the length of the petal
Use hot glue to secure it to the bottom side of one of the petals
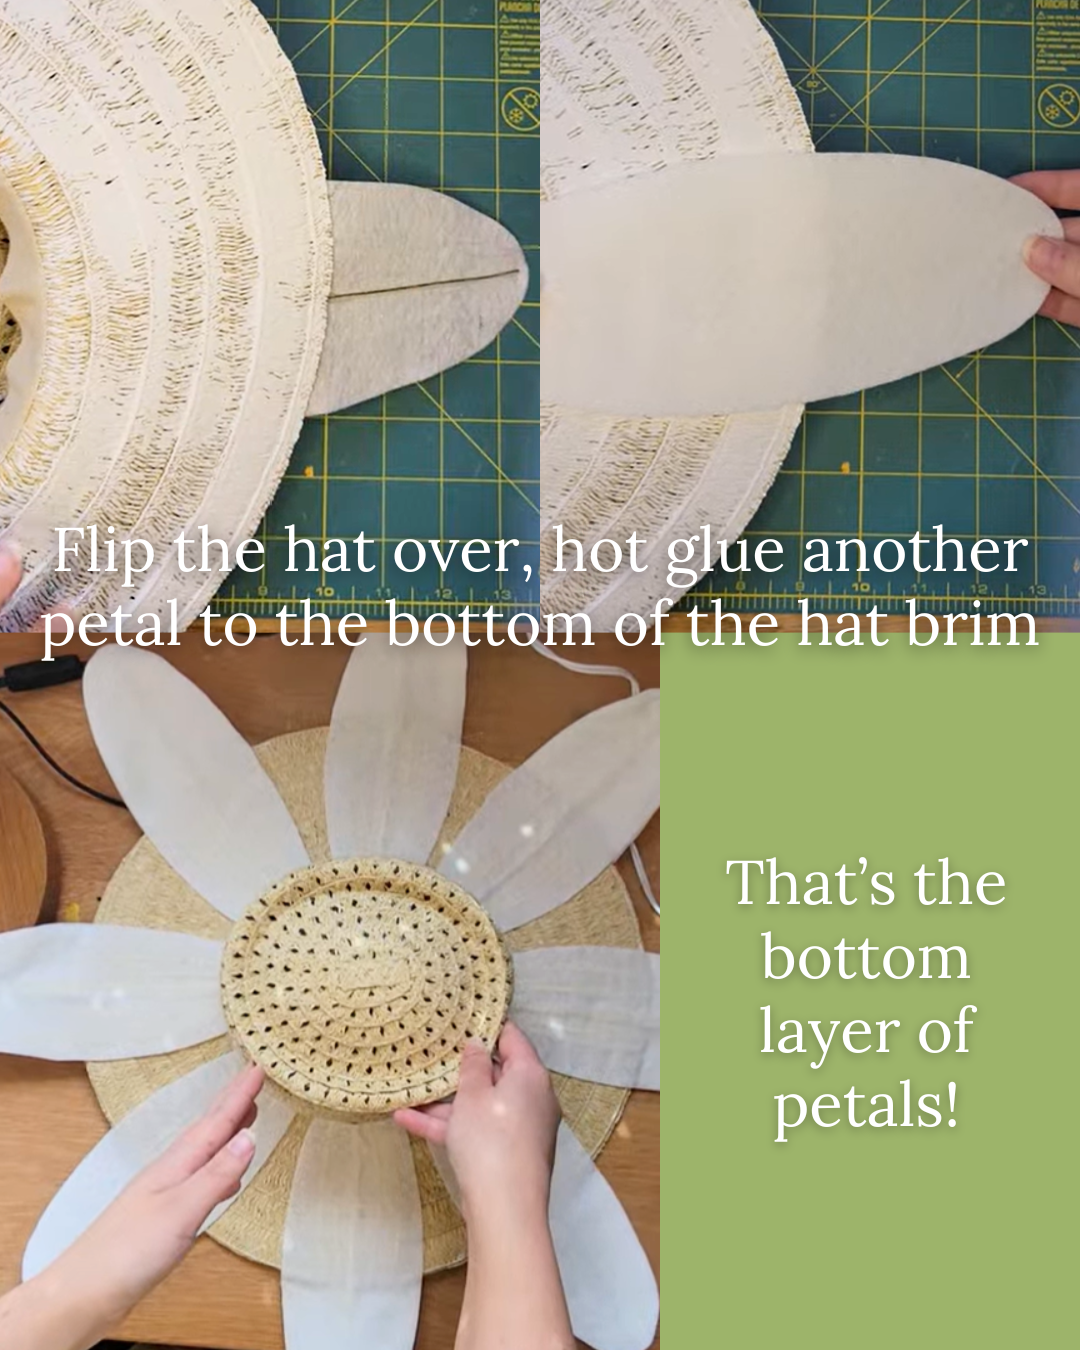
Glue the petal with the wire to the top of the hat, flip it over and glue the other side of the petal underneath, with the brim of the hat in-between the layers
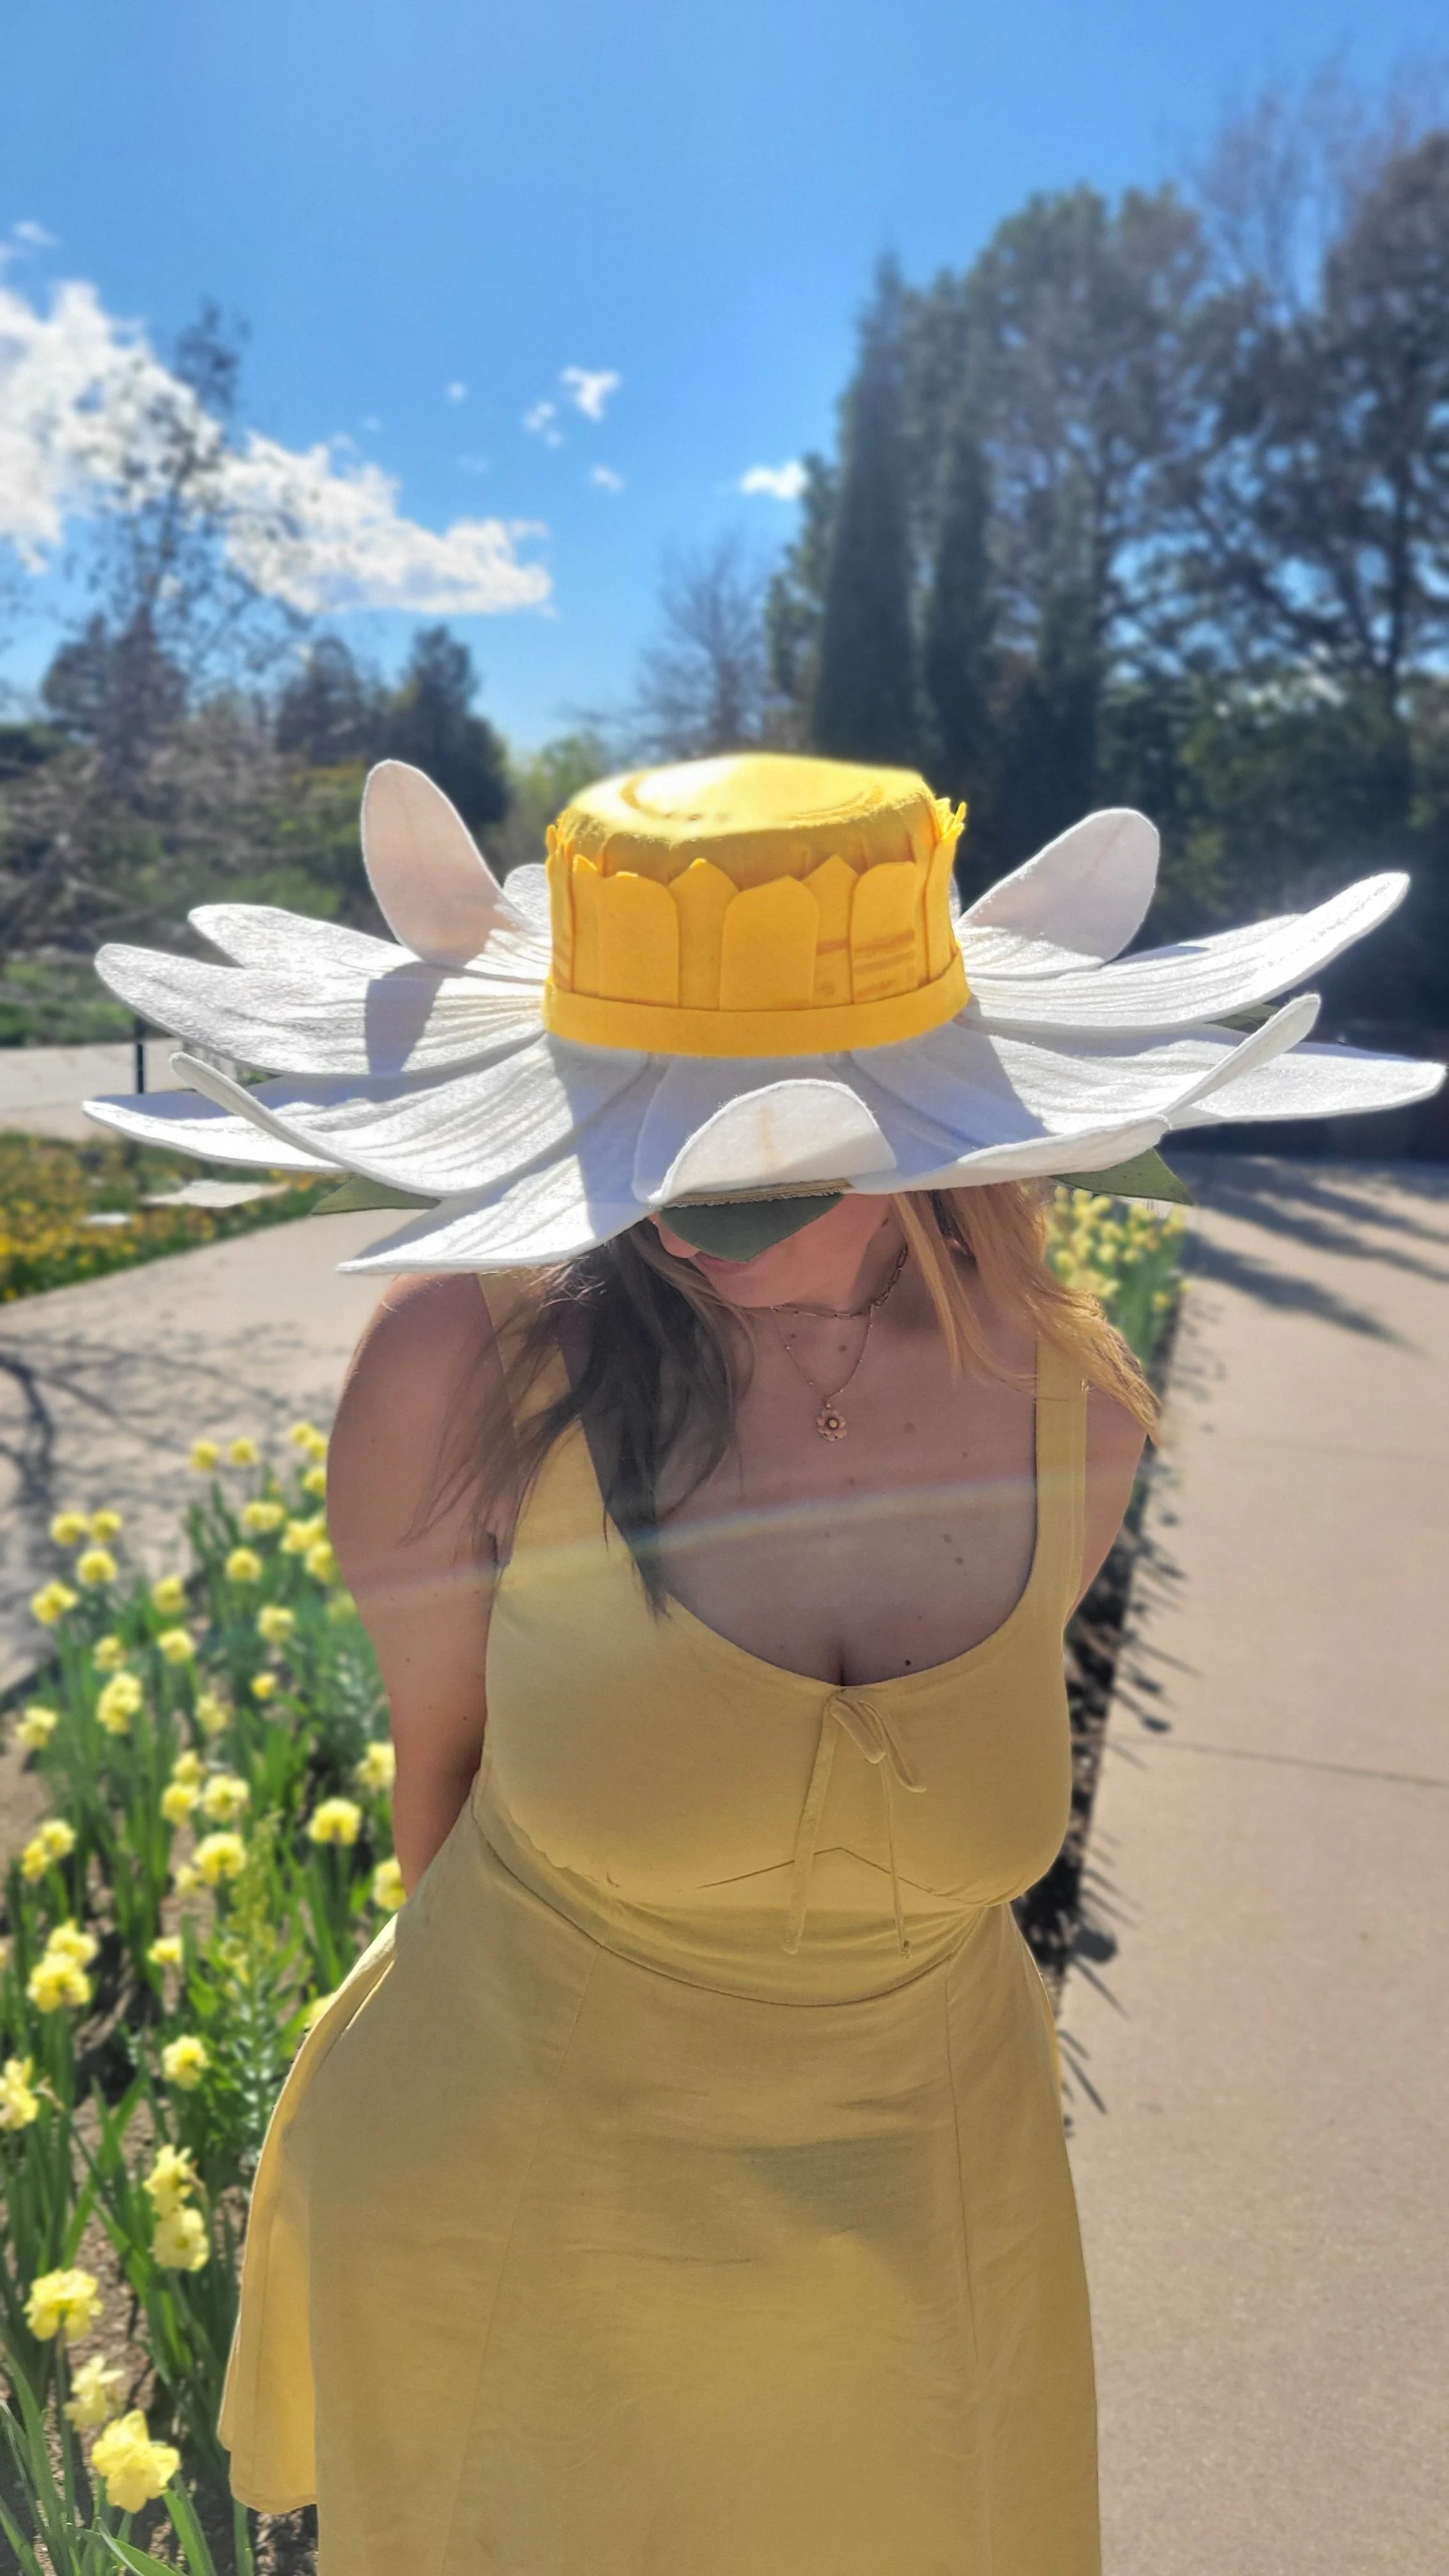
Step 3: Assemble top layer petals (8 pairs of petals)
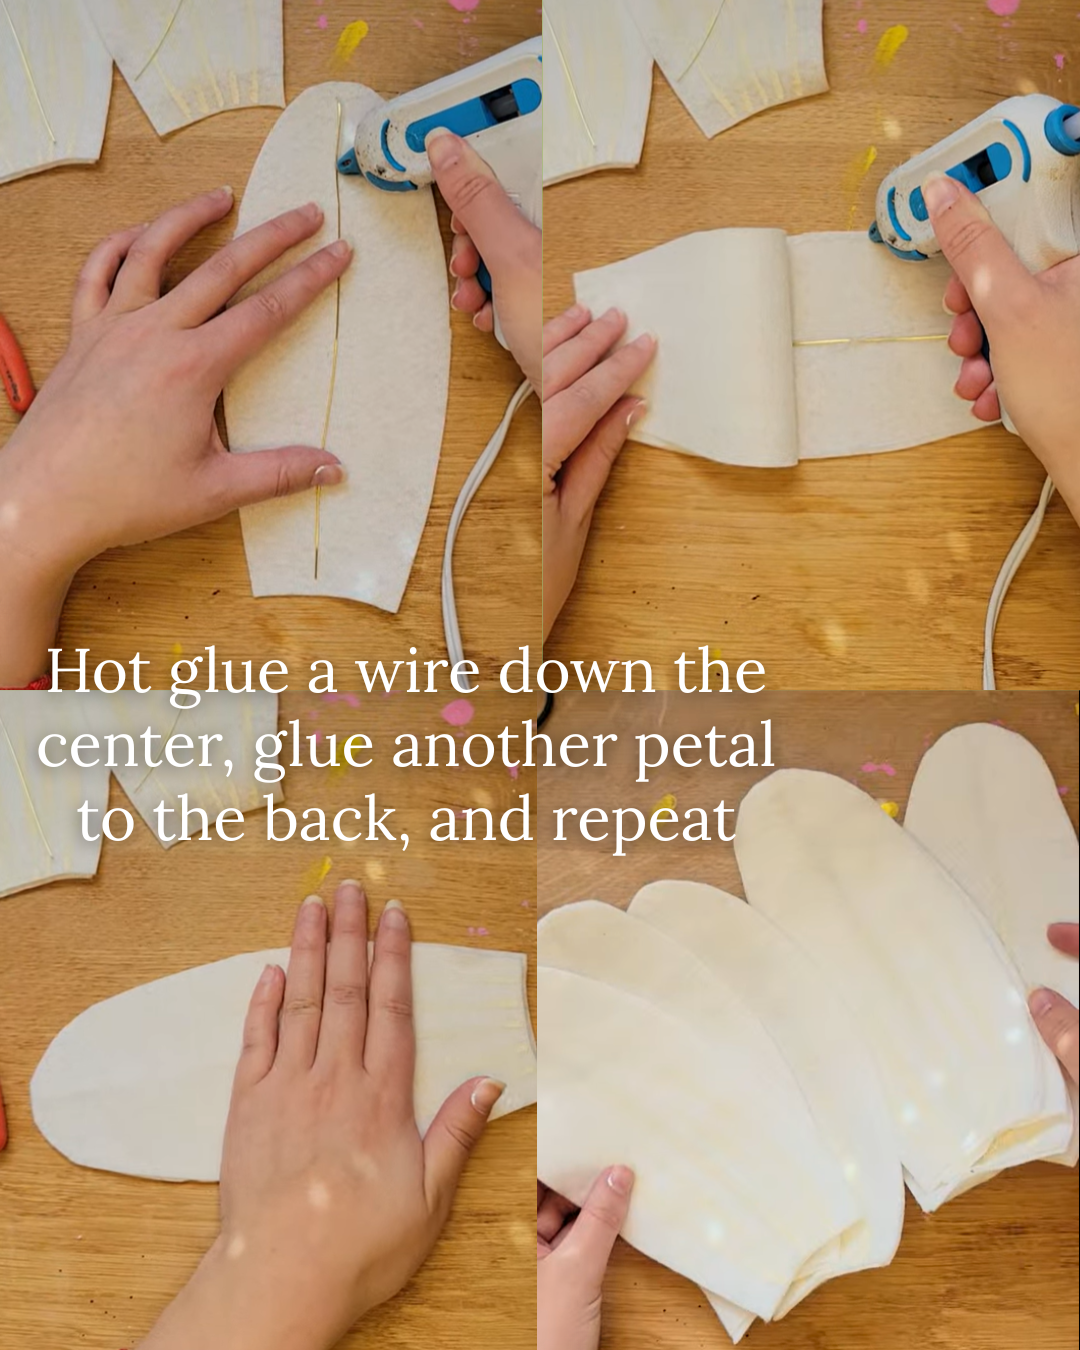
Once again, cut a piece of wire to the length of the petal
Use hot glue to secure the wire down the center and then glue the two petals together
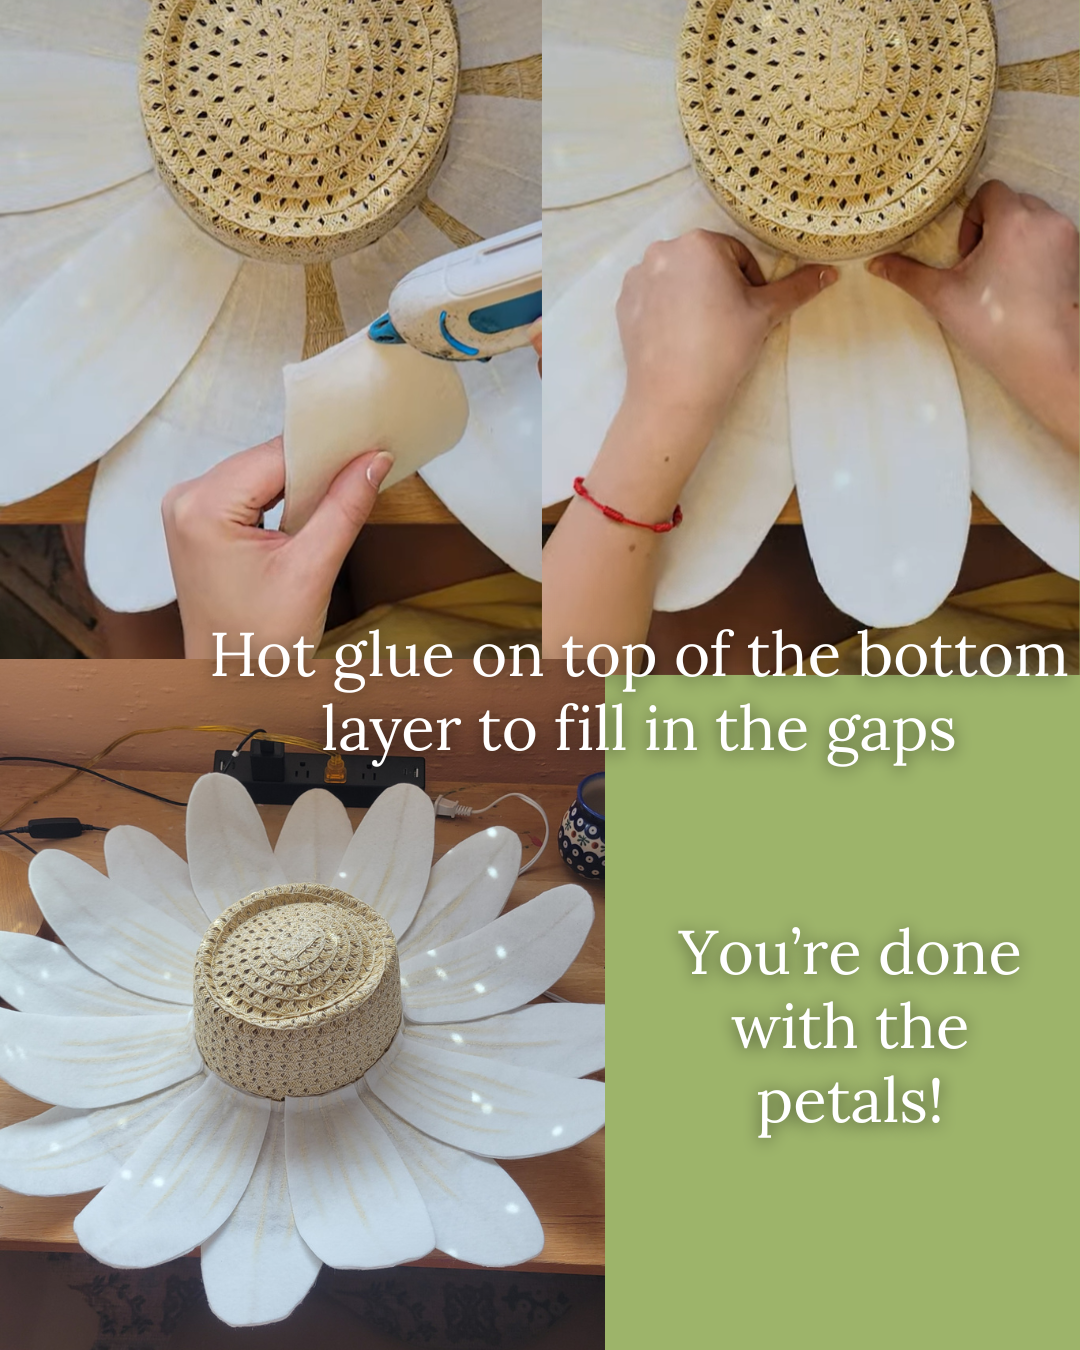
Glue the base of each petal to the base of the brim of the hat in-between each of the bottom layer of petals to fill in the gaps
Step 4: Create the center of the flower
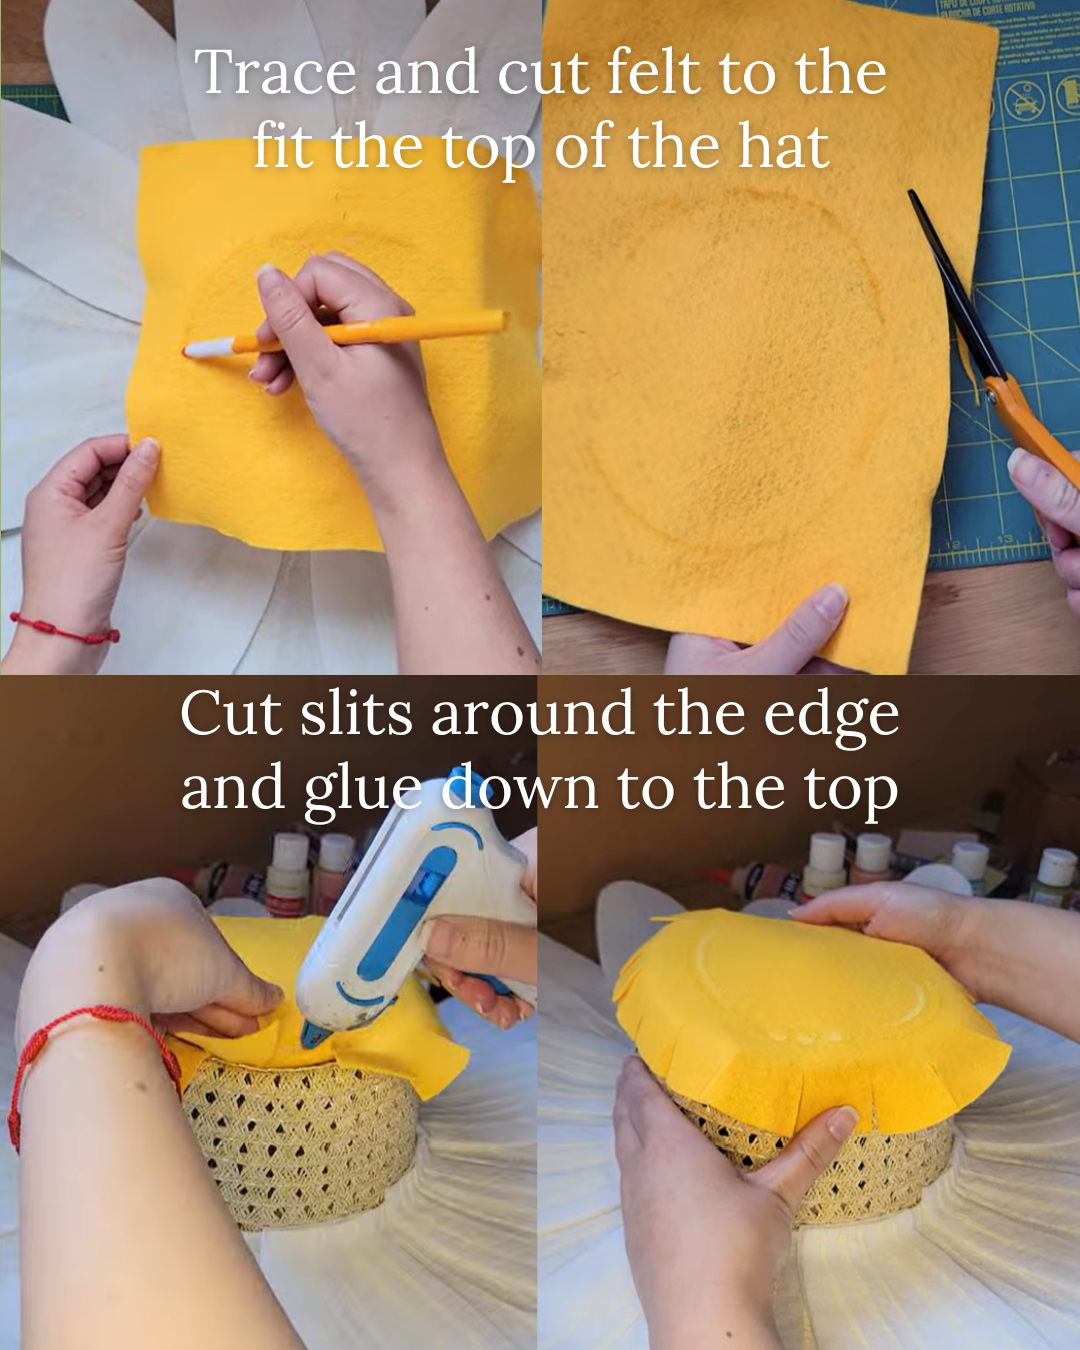
Cut a piece of yellow felt to the shape of the top of the hat with a 2 inch border
Cut the border into strips and use hot glue to secure it to the top of the hat
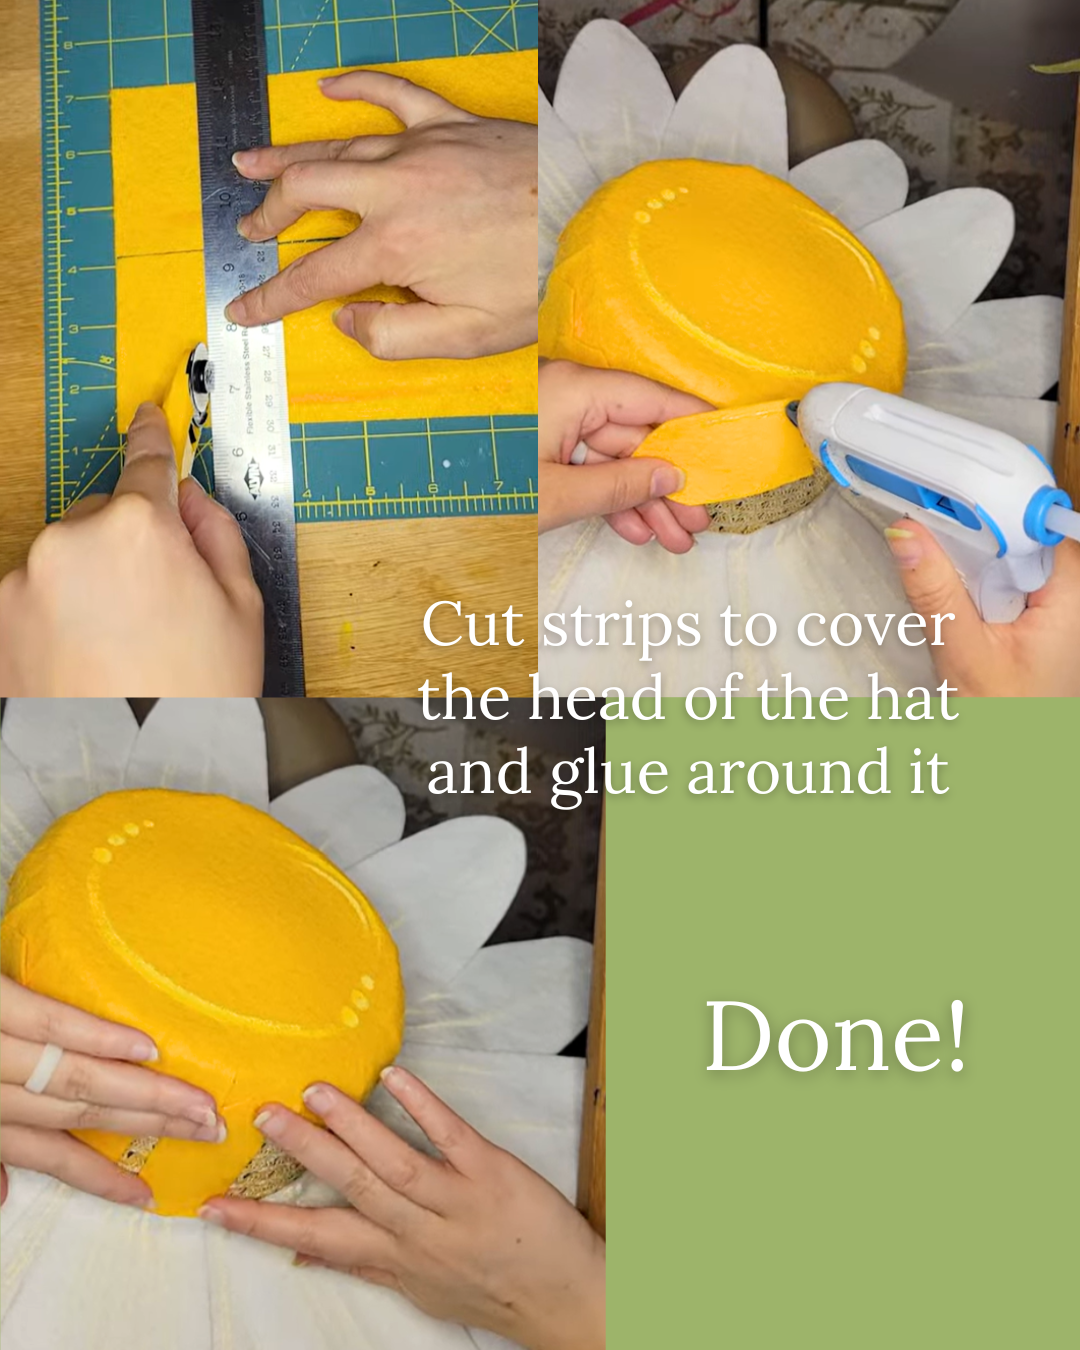
Cut strips of felt to the lengths of the height of the head of the hat; Optional: cut the tops into triangle shapes
Use hot glue to secure them all the way around the head of the hat
Optional: paint highlights onto the center of the hat using slightly lighter and slightly darker shades of yellow
Step 5: Add leaves (optional)
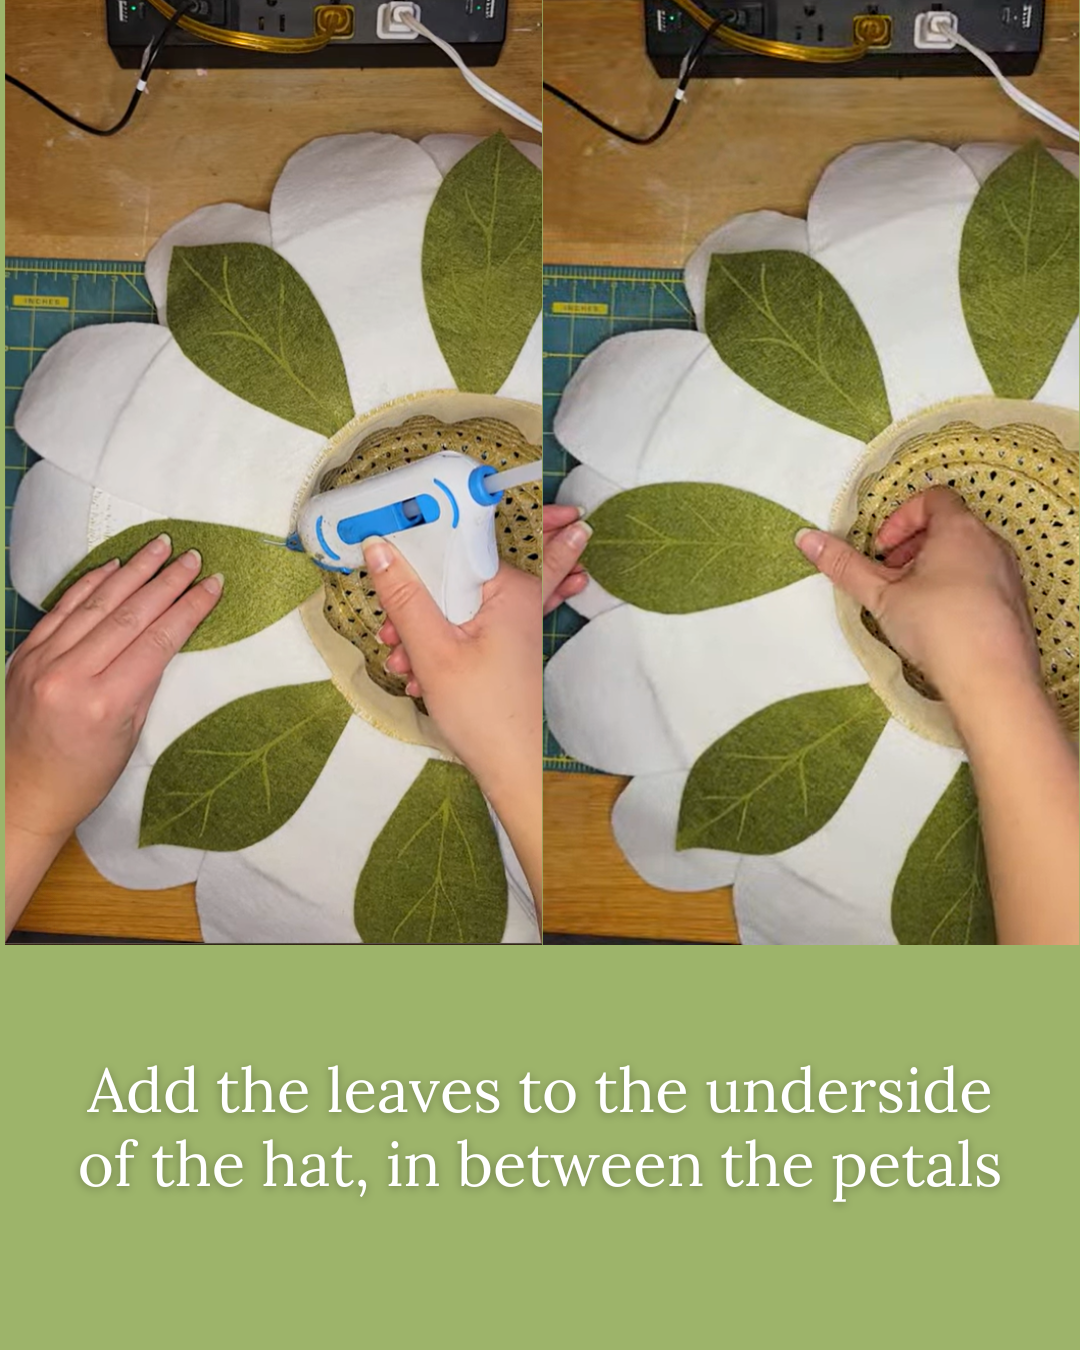
Cut out leaf shapes in green felt
Hot glue to the underside of the hat
Optional: paint on veins through the center of the leaves in a light green shade